How to Do a Bun with Short Hair: Complete Styling Guide
14 min readContents:
- Understanding Short Hair and Bun Possibilities
- Essential Products for Short-Hair Buns
- Bobby Pins and Grips
- Styling Products
- Common Mistakes to Avoid
- Three Core Techniques for Creating a Short-Hair Bun
- The Twisted Wrap Method (Best for Fine Hair)
- The Velcro Roller Core Method (Best for Very Short Hair)
- The Textured Knot Method (Best for All Hair Types)
- Adapting Your Bun for Different Hair Types
- Straight Hair
- Curly and Textured Hair
- Wavy Hair
- Professional Styling Tips That Work for Everyone
- Strategic Placement
- Controlling Flyaways
- Creating Intentional Volume
- Duration and Longevity
- Seasonal Adjustments and Timeline
- Spring (March to May)
- Summer (June to August)
- Autumn (September to November)
- Winter (December to February)
- Bun Styling for Specific Events
- Professional and Corporate Settings
- Casual and Everyday Wear
- Date Nights and Events
- Troubleshooting Common Problems
- Bun Falls Out Repeatedly
- Excessive Flyaways and Frizz
- Bun Looks Flat and Limp
- Bun Creates Tension Headache
- Product Investment Guide
- Frequently Asked Questions
- Can I create a bun if my hair is extremely short (under 3 inches)?
- How many bobby pins do I actually need?
- Will a bun damage my short hair?
- Is it better to style a bun on clean or dirty hair?
- What’s the fastest method for creating a short-hair bun?
- Moving Forward with Short-Hair Bun Styling
The biggest myth about short hair is that updos are simply off the table. You’ve probably heard it—friends, stylists, even well-meaning relatives insisting that buns require length. It’s not true. Short hair buns exist, they work brilliantly, and they can actually look sharper and more polished than their long-haired counterparts.
What draws so many people to this search is frustration. You want the practical benefits of an updo: keeping hair off your face, creating a finished look for work or events, or simply wanting a change without reaching for scissors. The good news is that modern styling techniques, paired with the right products and a touch of strategic planning, make this entirely achievable with short locks.
This guide walks through every method for how to do a bun with short hair, from the surprisingly simple to the technically impressive. We’ll cover what products actually work, which techniques suit different hair types, and most importantly, how to troubleshoot when flyaways threaten to derail your plans.
Understanding Short Hair and Bun Possibilities
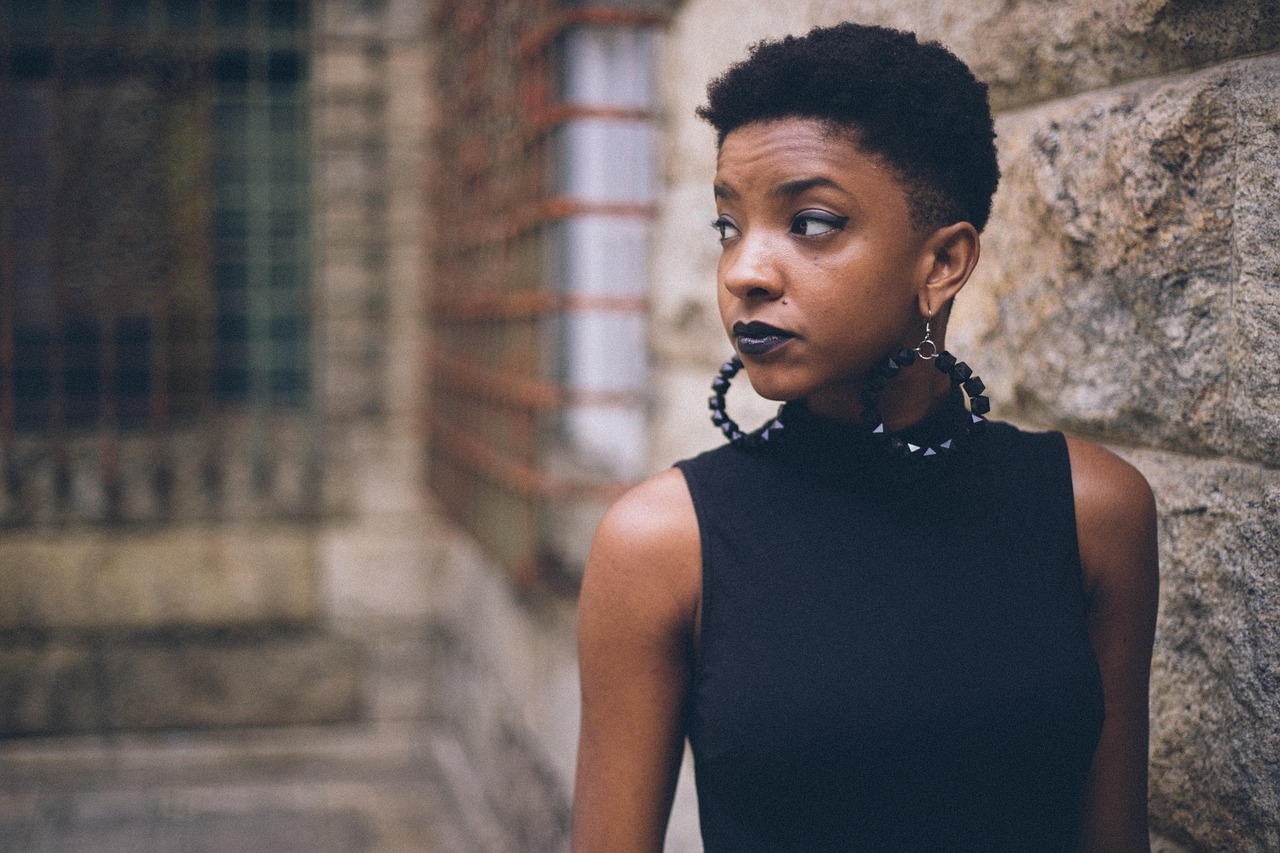
Before tackling the mechanics, it helps to understand what “short hair” actually means in the context of bun-making. Short hair typically sits between 2 to 8 inches in length—anything longer generally moves into medium territory. Within this range, bun possibilities expand and contract based on texture, thickness, and density.
Fine, thin hair presents the biggest challenge. With fewer total strands, creating enough volume to form a visible bun core requires more strategic planning. Thick, textured hair forgives more sloppiness because there’s simply more material to work with. Curly hair holds bun shapes naturally through texture; straight hair requires more structural support.
The season matters too. Spring and summer humidity—particularly the April to September window in the UK—works surprisingly well for bun-holding because moisture swells hair slightly, creating natural grip. Winter months can present drier conditions that make hair slipperier, though this improves with the right products. Autumn’s unpredictable weather requires more product investment across the board.
Essential Products for Short-Hair Buns
Success hinges on having the right toolkit. Generic bobby pins won’t cut it; you need specific tools designed for grip and control.
Bobby Pins and Grips
Invest in actual quality bobby pins rather than the cheapest pack available. Look for matte-finish pins (around £3-5 for a pack of 50) because they grip better than shiny ones. The ridged texture on the inside of the pin creates friction against your hair. You’ll need roughly 8 to 15 pins per bun depending on hair volume—more than you’d expect.
U-shaped bobby pins work best for short hair because they can anchor thicker sections without sliding out. X-shaped pins are helpful for securing flyaways but less essential. Consider twisted pins, which grip with multiple contact points—brands like Sleek and Kitsch offer these for around £2-4.
Velcro rollers aren’t bun-specific but are genuinely useful. A small 1-inch roller (under £10 for a set) can serve as your bun core, especially if hair is very fine. You wrap hair around it and secure with pins, creating instant structure.
Styling Products
Texturising spray creates grip when applied at the roots. Brands like Batiste and Tresemmé (£2-4 per can) add microfibre particles that help sections stick together. Apply 30 minutes before styling for best results; this gives it time to fully activate rather than sitting wet on your scalp.
Holding spray locks the final result. For short-hair buns, you need strong hold without crunchiness. Look for a medium to firm hold spray (around £5-8 for salon brands like Kérastase or L’Oréal Professionnel). Apply sparingly after pinning; too much makes hair stiff and unnatural-looking.
Pomade and gel offer control for flyaways and edge definition. Smooth gels like Eco Styler (£3-5) work well for sleek finishes, while pomades (ranging from £8-15 for mid-range brands) give shine and pliability. For very short hair, less is more—a dime-sized amount covers considerable ground.
Dry shampoo serves a dual purpose: it adds texture for grip and absorbs excess oils that make hair slippery. The powdery residue creates friction, which is precisely what you want. Use the day before, not the day of, to allow the product to settle.
Common Mistakes to Avoid
Learning what doesn’t work saves time and frustration. These are the pitfalls that catch even experienced short-hair stylists.
Starting with wet hair. Wet hair slides apart far more easily. Always style buns on completely dry or nearly dry hair. If you wash on bun day, allow at least 2-3 hours of drying time before attempting to pin.
Using too few pins. The impulse is to minimize visible pins, but under-pinning causes collapse. Add one more pin than you think necessary; better to remove one later than have your bun fall apart at work.
Gathering too much hair at once. With short lengths, small sections are more manageable. Divide your hair into 3 or 4 sections rather than trying to grab everything at the crown in one motion.
Relying solely on height for fullness. Short hair won’t create the dramatic height of long buns. Compensate by focusing on width and texture rather than vertical dimension. A slightly lower, fuller bun looks intentional rather than strained.
Ignoring the hairline. Short layers around the face are beautiful but problematic for buns. Baby hairs and face-framing pieces escape easily. Use edge control or a damp toothbrush to smooth these down before pinning the rest.
Three Core Techniques for Creating a Short-Hair Bun
The Twisted Wrap Method (Best for Fine Hair)
This technique works because it creates visual bulk without requiring much actual volume. Start with texturised hair and a light application of holding spray at the roots.
Gather hair into a ponytail at the crown, using an elastic that matches your hair colour (around £2 for a quality elastic). Divide the ponytail into two equal sections. Twist each section away from the centre, creating two rope-like strands. Cross one twist over the other, then wrap them around each other, building a coiled shape. Secure the base with 3-4 bobby pins inserted at different angles for maximum hold.
This method works because each twist compresses hair without flattening it. The overlapping strands create the appearance of more volume than actually exists. It takes roughly 4-5 minutes once mastered, making it practical for weekday mornings.
The finish looks deliberately textured rather than slick, which suits office environments and casual settings equally well. Add a decorative hair clip (£8-15 for something quality) on top to draw attention to the intentional design rather than any gaps.
The Velcro Roller Core Method (Best for Very Short Hair)
If your hair falls on the shorter end—below 4 inches—a Velcro roller becomes your bun core. This approach is architectural rather than natural, but it works.
Blow-dry hair smooth and apply texturising spray at the roots. Take a small Velcro roller (1-1.5 inches in diameter) and roll a section of hair around it, starting near the crown. Hold it in place and wrap remaining hair around the roller, securing the wrapped hair with bobby pins that pass through the roller’s centre. This anchors the whole structure.
The roller itself becomes hidden inside the bun shape, with hair wrapped around it forming the visible exterior. Use 5-8 pins depending on hair thickness. This method holds reliably for 12+ hours even with very fine hair.
The drawback is that it requires a specific product most people don’t own, and it takes practice to position the roller invisibly. The advantage is reliability—this method almost never fails if executed correctly.
The Textured Knot Method (Best for All Hair Types)
This is the most forgiving approach and the one professional stylists typically teach. It works across different textures and hair volumes.
Start with texturised hair. Apply a small amount of pomade or edge control around the hairline to tame flyaways. Gather hair into a high ponytail at the crown using a snag-free elastic. Divide the ponytail into two sections.
Tie these sections in a simple knot, as though you’re tying shoelaces. Don’t pull it tight—keep it loose and textured. Wrap the tail sections around the knot’s base, tucking the ends and securing everything with 6-10 bobby pins inserted throughout the structure at different angles and directions.
Apply light holding spray and use your fingers to gently rough up the bun surface, creating intentional texture. This destroys any slick appearance and strengthens the structure by creating natural grip points between hair sections.
This method looks effortless and modern. The deliberate texture reads as intentional styling rather than hair falling apart. It takes 5-7 minutes and works equally well on naturally straight hair, waves, or curls.
Adapting Your Bun for Different Hair Types
Straight Hair
Straight hair’s main challenge is slipperiness. Without natural texture, sections slide apart more readily. Prioritise texturising spray—apply it 30 minutes before styling rather than right before. Use slightly more pomade or edge control than you would with textured hair.
The upside: straight hair holds pinned shapes incredibly cleanly. A straight-haired bun reads as sleek and polished. Embrace this by going for intentionally smooth sections rather than fighting for texture.
Curly and Textured Hair
Curly hair is a bun-maker’s dream in many ways. The natural texture creates built-in grip, and curls hold their shape. The challenge emerges around the edges: shorter curls around the face may frizz or escape.
Use a curl-defining gel (around £6-10 for salon-quality products like Aunt Jackie’s or SheaMoisture) rather than pomade. This maintains curl definition while adding hold. Apply edge control only where needed rather than across the full hairline.
Consider a pineapple technique for curly buns: gather hair loosely at the crown before bed or several hours before styling. This allows curls to “set” into a bunned position. When you’re ready to style, the curls are already predisposed to stay grouped together, requiring fewer pins.
Wavy Hair
Waves sit between straight and curly in terms of grip. They hold shape reasonably well but lack the natural stickiness of tight curls. Salt spray (around £5-7) replicates texture and saltwater’s gripping properties without actually using ocean water.
Wave-textured buns look best slightly tousled rather than neat. Don’t fight the waves; work with them by creating an intentionally undone appearance.
Professional Styling Tips That Work for Everyone
Strategic Placement
Where you place the bun affects how polished it looks. High buns (positioned at the crown) suit oval and round faces well. Low buns (positioned at the nape) work better on longer face shapes and create a more formal, grown-up appearance.
For short hair specifically, a mid-height placement—slightly above the crown rather than directly at the top—often works best. This creates fullness without looking precarious, and it sits more naturally with shorter hair’s proportions.
Controlling Flyaways
No amount of pinning prevents every flyaway. Accept this and address it strategically. Use a soft-bristled toothbrush slightly dampened with water and edge control to smooth fly-aways once the bun is pinned. Brush these strands toward the main bun and pin them individually if needed.
A damp toothbrush costs nothing and works better than expensive hair smoothing tools. Keep one at your desk if you wear buns regularly—it takes 20 seconds to touch up before meetings.
Creating Intentional Volume
With short hair, you won’t have dramatic volume, but you can create the illusion of more fullness. Backcomb the gathered ponytail section gently before twisting or knotting it. This roughens the surface and makes the mass appear larger.
After pinning, use your fingers to gently pull small sections of hair away from the bun core. This creates texture and airiness. Pull just slightly—you want looseness, not collapse.
Duration and Longevity
A properly executed short-hair bun lasts 10-14 hours before requiring re-pinning or complete re-styling. Longer than this, and gravity and movement gradually shift the structure. Rather than viewing this as a limitation, plan styling around your schedule: style fresh buns for major events, and accept that office-day buns might need a mid-day refresh.
Keep a small bag at work with 2-3 bobby pins, texturising spray, and edge control. A 30-second touch-up at lunch hour extends bun life substantially.
Seasonal Adjustments and Timeline
Short-hair bun success shifts slightly across the year. Understanding seasonal factors helps you adapt your approach accordingly.
Spring (March to May)
Spring humidity is actually helpful for bun-holding. Hair swells slightly in moisture-rich air, creating natural grip. You can get away with fewer pins and less product. This is the ideal season to experiment with bun techniques if you’re new to the style.
Summer (June to August)
Peak humidity makes hair puffier but also more prone to frizz. Prioritise frizz-fighting products like smoothing serums (around £8-12) applied before styling. Switch to holding sprays with anti-humidity formulas. The trade-off: buns hold well but may look less polished if frizz isn’t managed.
Autumn (September to November)
Declining humidity returns you toward spring conditions. Humidity drops gradually through the season, so early autumn buns hold easily, while late autumn (October-November) might require slightly more product investment. Weather becomes unpredictable—some days humid, some dry—so keep your full product range on hand.
Winter (December to February)
Cold, dry conditions make hair slipperier and more prone to static. Increase texturising spray use and apply a hydrating leave-in conditioner (around £6-10) to hair before styling. This prevents static and adds just enough grip to assist pinning. Holding sprays work harder in dry conditions because they dry faster, which can sometimes make finishes feel heavy.
Bun Styling for Specific Events
Professional and Corporate Settings
Office buns should prioritise polish over drama. Use the textured knot method with carefully controlled flyaways. Keep colors neutral and avoid novelty pins. A simple, professional bun costs roughly zero to create but signals competence and attention to detail.
Casual and Everyday Wear
The twisted wrap method shines here. It looks intentional and modern without requiring perfection. Hair doesn’t need to be pristine; a slightly undone texture actually enhances the casual aesthetic. Pair with a simple scrunchie in a neutral tone.
Date Nights and Events
This is where decorative elements become worthwhile. Invest in a quality hair accessory (£15-30) that complements your outfit. Gold and silver hair clips, jeweled bobby pins, or patterned scarves transform a basic bun into an intentional style statement. The velcro roller core method creates maximum fullness here.
Troubleshooting Common Problems
Bun Falls Out Repeatedly
Diagnosis: Likely too few pins or starting with damp hair. Solution: Add 3-4 more pins than feels necessary, distributed at different angles rather than all in one spot. Let hair dry completely (at least 2 hours after washing) before styling. Use texturising spray 30 minutes before pinning.
Excessive Flyaways and Frizz
Diagnosis: Either humidity affecting hair or insufficient edge control. Solution: Apply edge control to the hairline and any face-framing pieces before gathering the main ponytail. For humidity-related issues, switch to an anti-humidity holding spray (around £8-10). Use a damp toothbrush to smooth flyaways after pinning.
Bun Looks Flat and Limp
Diagnosis: Insufficient texture or too much tension during pinning. Solution: Backcomb the gathered ponytail before twisting or knotting. Intentionally rough up the bun’s surface after pinning rather than smoothing it neat. Try the velcro roller method, which creates automatic volume.
Bun Creates Tension Headache
Diagnosis: Too-tight ponytail or bobby pins positioned against the scalp. Solution: Gather hair more loosely—the bun doesn’t need to be incredibly tight to hold all day. Position pins horizontally across the bun structure rather than vertically into the scalp. If headaches persist, switch to a lower bun placement.
Product Investment Guide
You don’t need expensive products for successful short-hair buns. Here’s a realistic budget breakdown for a complete starter kit, updated for 2026 pricing in GBP:
Essential products (total approximately £20-30): Quality bobby pins (£4), texturising spray like Batiste (£3), holding spray like TRESemmé (£3), edge control product (£4), and either a small velcro roller set (£8) or basic pomade (£5). With these five items, you can create functional buns.
Mid-range additions (additional £15-25): Salon-quality holding spray (£8), curl-defining gel if you have curly hair (£8), and a decorative hair clip for event styling (£10). This level gives you tools for most situations.
Premium options (additional £20+): Professional-grade texturising sprays, anti-humidity formulas, specialized clips, or multiple roller sizes. Most people never need this level unless styling buns daily.
The sweet spot for most people is the mid-range investment: roughly £35-55 total, purchased gradually rather than all at once. A single quality holding spray lasts 3-4 months with regular use.
Frequently Asked Questions
Can I create a bun if my hair is extremely short (under 3 inches)?
Technically yes, but it’s extremely challenging. You’d need the velcro roller method and very thick, dense hair. Most people with hair under 3 inches find braids or twists more practical than buns. If you’re determined, invest in a small velcro roller and practice on non-event days first.
How many bobby pins do I actually need?
For short hair, use 8-15 pins depending on thickness and density. This sounds excessive but is necessary for holding. Insert them at different angles—some horizontally, some vertically, distributed throughout the bun structure rather than clustered in one spot. More pins equals longer hold time.
Will a bun damage my short hair?
Properly executed buns cause minimal damage. The main risk is over-tightening, which stresses hair at the roots. Keep the gathered ponytail slightly loose rather than pulling maximally tight. Avoid sleeping in buns, which creates unnecessary tension overnight.
Is it better to style a bun on clean or dirty hair?
Dirty hair (2-3 days post-wash) holds bun shapes better than freshly washed hair because natural scalp oils add grip. However, very dirty hair can look limp in a bun. The sweet spot is second-day hair after applying dry shampoo or texturising spray. This adds grip without the flatness of truly dirty hair.
What’s the fastest method for creating a short-hair bun?
The textured knot method, once practiced, takes 4-5 minutes start to finish. The twisted wrap method takes slightly longer at 5-7 minutes. The velcro roller method, while reliable, requires more setup time (7-10 minutes) unless you regularly use it.
Moving Forward with Short-Hair Bun Styling
The real secret to successful short-hair buns isn’t one special technique—it’s combination. The right products, correct bobby pin placement, strategic texture creation, and appropriate styling for your specific hair type together produce reliable results.
Start with whichever method appeals most to you: twisted wraps if you enjoy playing with hair, the knot method if you value speed, or velcro rollers if you demand maximum security. Practice on ordinary days rather than events. Your first attempt will feel uncertain; your fifth attempt will feel automatic.
Keep your essential products within reach if you style buns regularly. A small bag with bobby pins, texturising spray, and edge control takes up minimal space but solves 90% of unexpected problems.
Most importantly, adjust expectations around what “finished” looks like with short hair. Buns won’t have the dramatic height or sleekness of longer-haired versions, and that’s perfectly fine. Short-hair buns offer their own modern aesthetic: they look polished without being fussy, intentional without requiring excessive effort, and genuinely practical for busy lives. Once you’ve mastered the technique that suits your hair, you’ll wonder why you ever thought short lengths excluded you from updos.